
Connecting QuickBooks Online (QBO) to LoopAI lets us push journal entries directly into your books on the cadence you choose. Setup is a one-time, ~10-minute flow: connect QBO, map your Loop locations to QBO Classes or Departments, then map your Chart of Accounts. This guide walks through each step.
1. Connect your QuickBooks account
Step 1 — Sign in to Loop
Sign in at app.tryloop.ai with your usual credentials. If you don't have access yet, email support@tryloop.ai.
Step 2 — Open Journal Entries Settings
From the left navigation, expand Finance → Accounting and click Journal Entries Settings. The page opens on the SOFTWARE INTEGRATIONS tab by default.
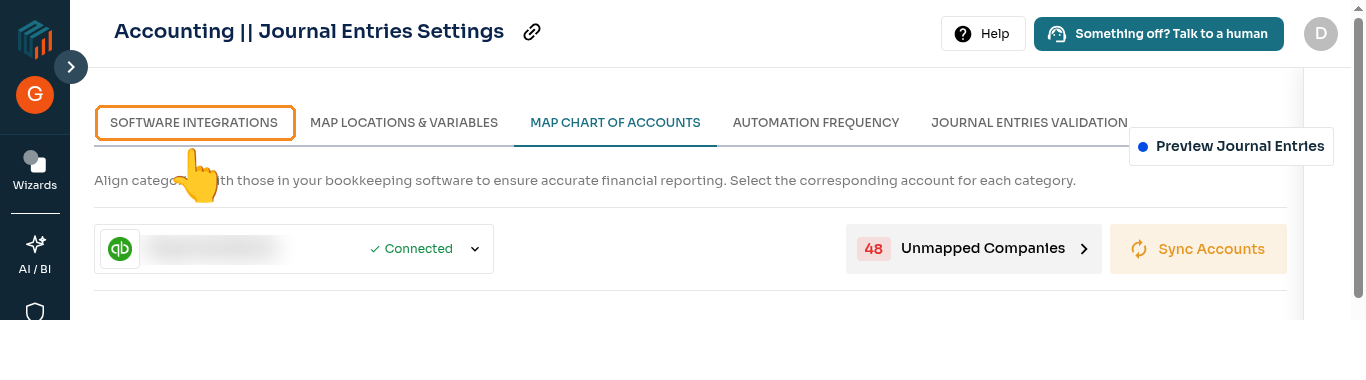
The Journal Entries Settings page — SOFTWARE INTEGRATIONS is the first tab.
Step 3 — Start the Bookkeeping Setup wizard
In the top-right of the page, click Integrate Bookkeeping Software. This launches the Bookkeeping Setup wizard, which walks you through the full connection in five guided steps.
Step 4 — Choose QuickBooks Online
On the first wizard screen, you'll see tiles for every bookkeeping system Loop supports — QuickBooks Online, Xero, Sage Intacct, Netsuite, Restaurant 365, and a Custom tile for everything else. Click the QuickBooks Online tile.
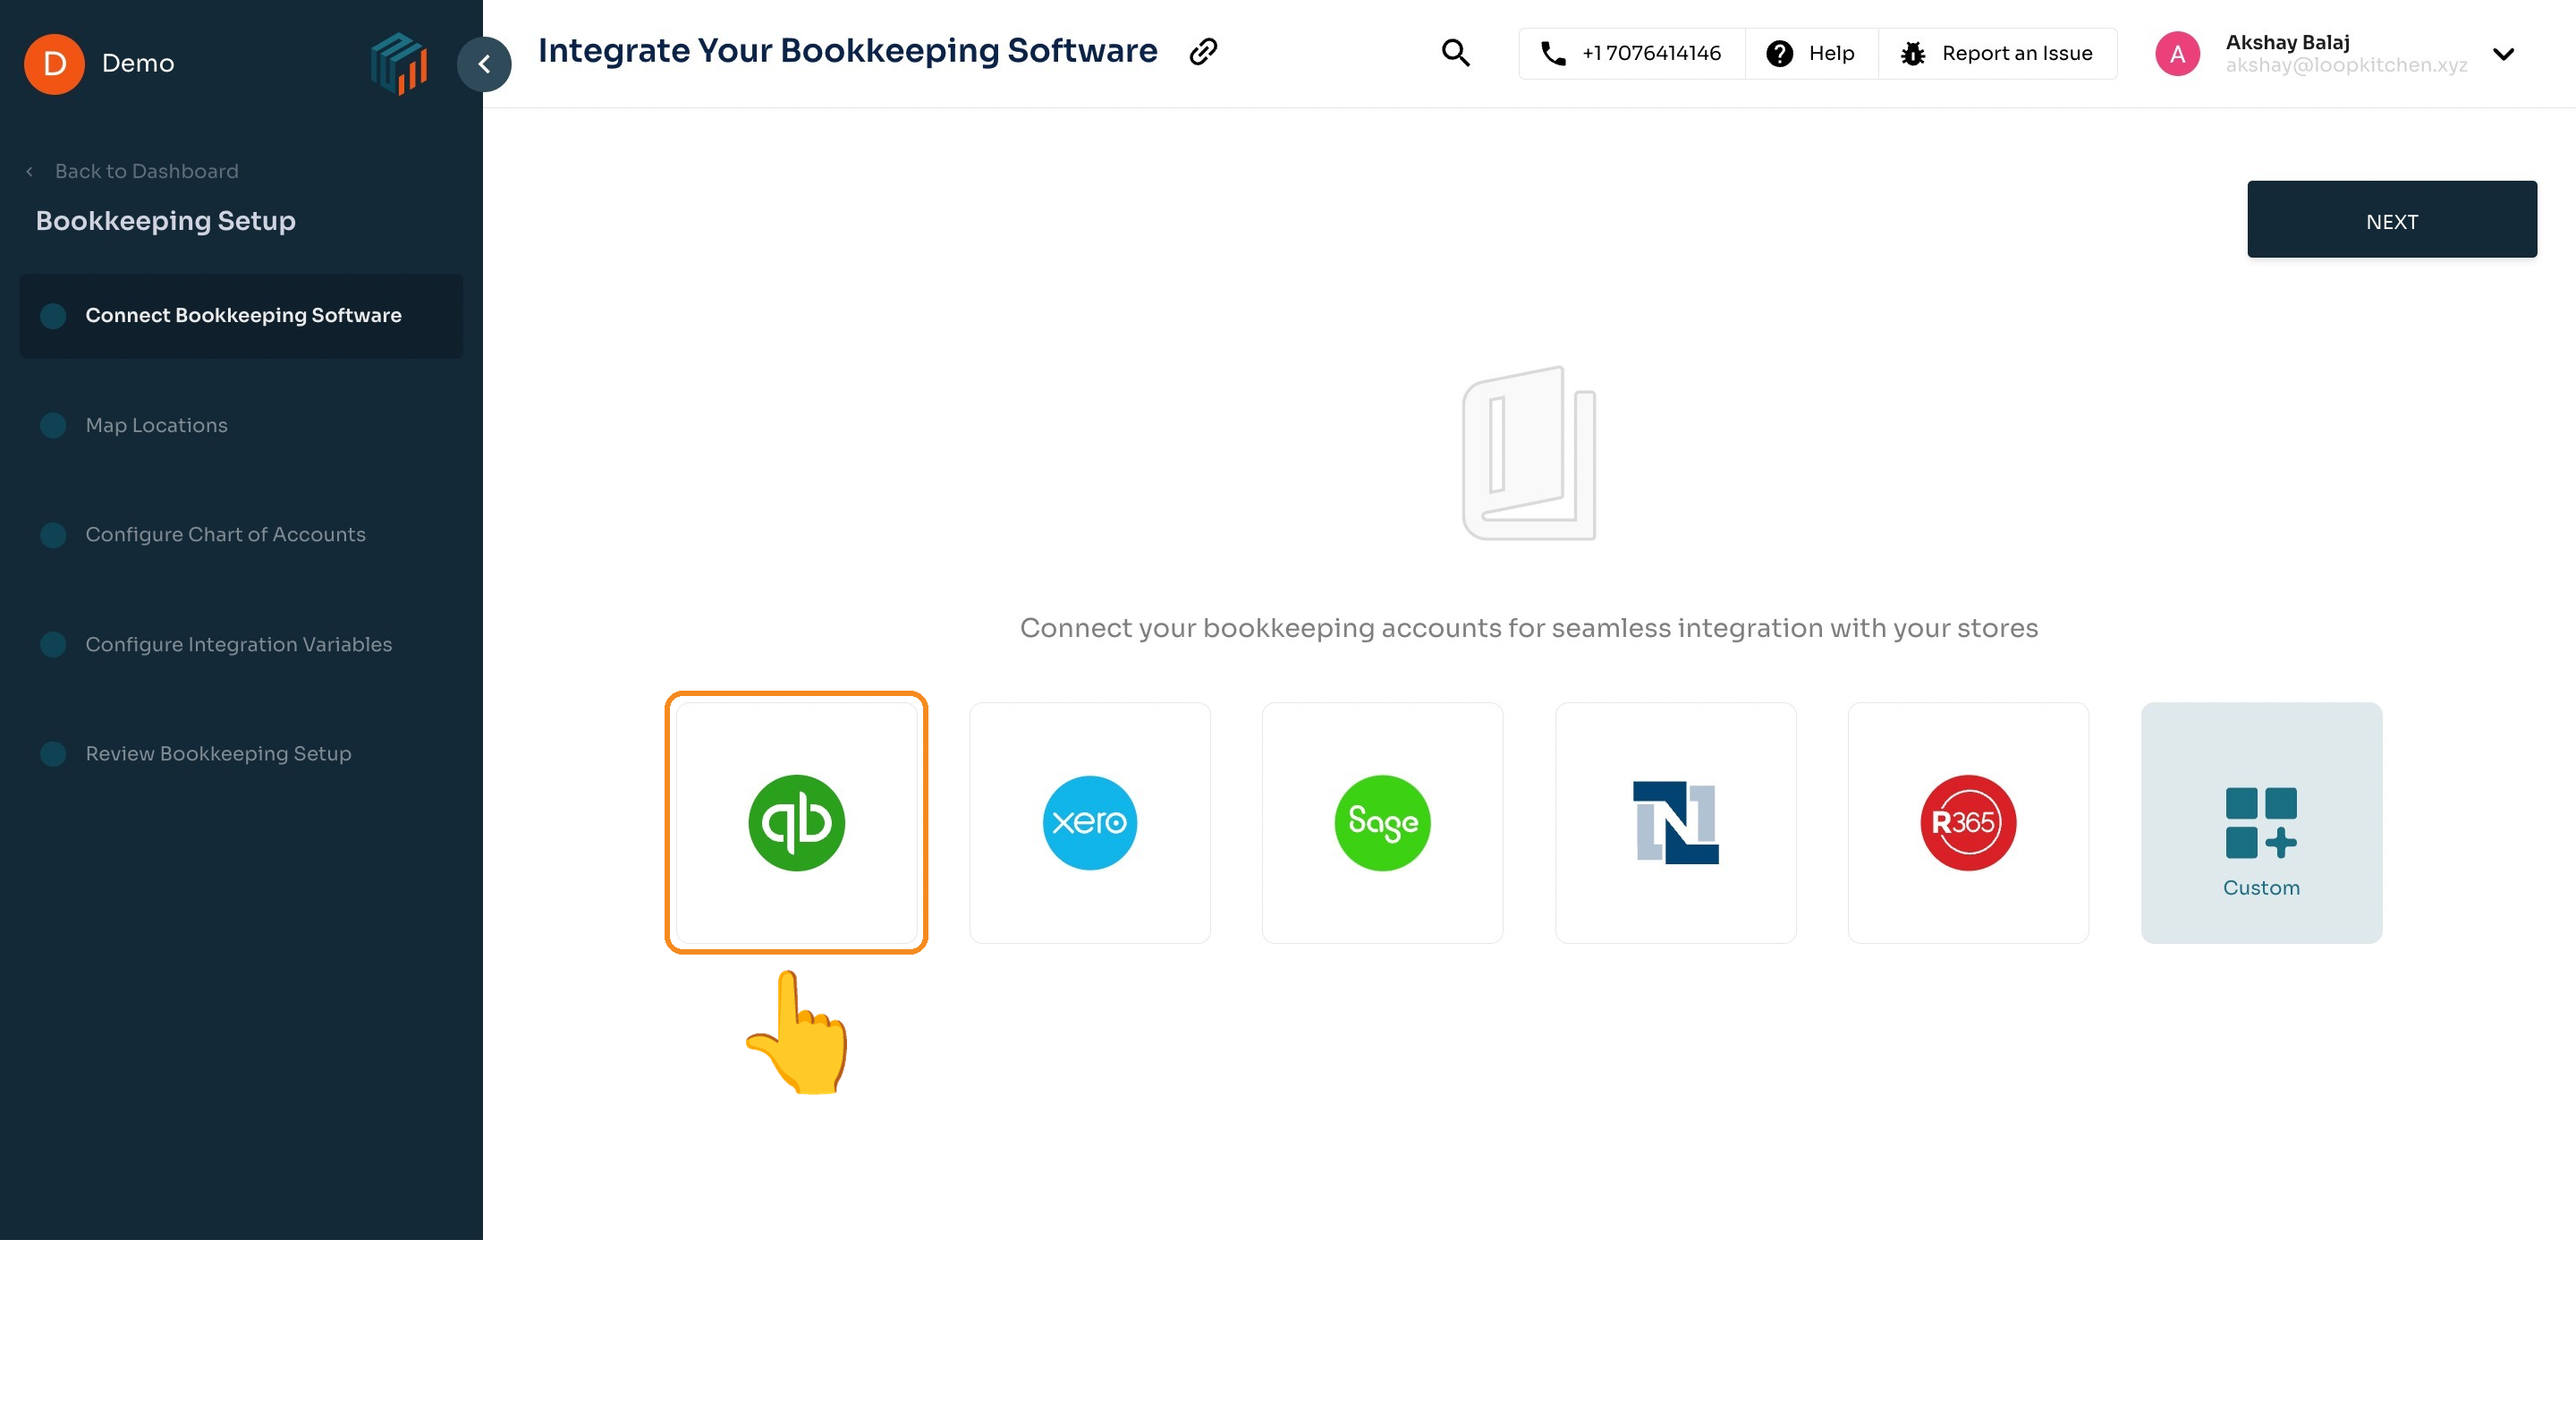
Pick QuickBooks Online from the tile grid in step 1 of the wizard.
Step 5 — Sign in to QuickBooks
QuickBooks opens in a new tab. Sign in with your Intuit account and complete any MFA prompts (text code, security questions, or the Intuit app).
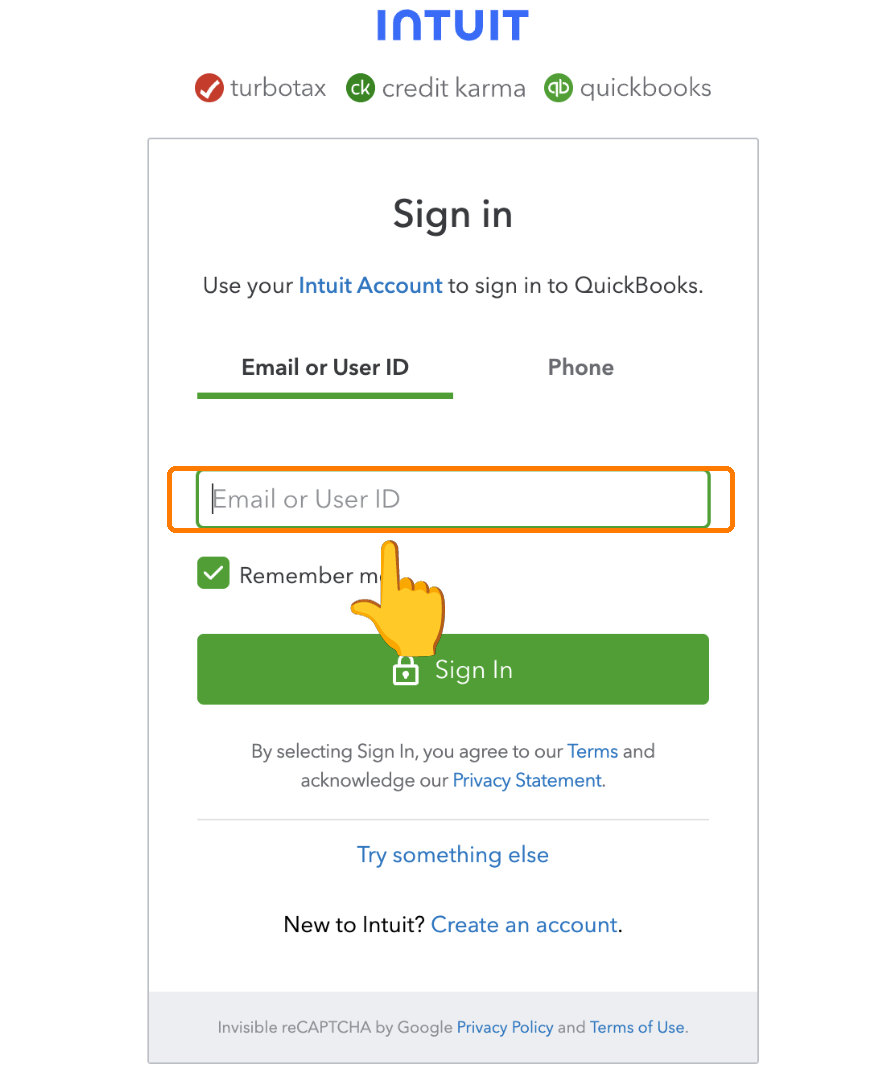
QuickBooks opens in a new tab for sign-in.
If you manage multiple QuickBooks companies (e.g. an accountant view), pick the company you want to connect, then click Next to authorize Loop.
Step 6 — Confirm the connection
When OAuth completes, the QuickBooks tab closes and you'll see the company appear on the SOFTWARE INTEGRATIONS tab with a green Connected badge.

A successfully connected QBO company tile.
2. Map your Loop locations to QBO Classes or Departments
Loop needs to know which physical location each journal entry belongs to in QuickBooks — either by Class or by Department. This is the most important step in the whole flow: locations that aren't mapped will not have journal entries pushed.
Inside the wizard, you'll land on the Map Locations & Variables step. You can also reach it any time after setup at Finance → Accounting → Journal Entries Settings → MAP LOCATIONS & VARIABLES.
- Tick the box next to each Loop location you want to include — or use Unselect All + tick a subset.
- For each selected location, open the dropdown on the right and pick the matching QuickBooks Class or Department. Toggle the type from the inline picker if both are configured in QBO.
- If you've added new Classes in QBO that aren't showing up yet, click Sync Classes to refresh from QuickBooks.
- Click Save.
3. Map your Chart of Accounts
Once locations are mapped, the wizard advances to the Map Chart of Accounts step (also reachable any time at Finance → Accounting → Journal Entries Settings → MAP CHART OF ACCOUNTS). Here you tell Loop which QuickBooks GL account each line item on your journal entries should hit — sales, fees, payouts, taxes, and so on.
Because chart-of-accounts mapping is its own multi-step process, we have a dedicated guide for it. Open it before you start so you have it side-by-side: Setting Up Chart of Accounts for 3P Financial Reconciliation.
4. What's next: cadence & validation
Two more pieces complete the setup:
- Set a push cadence (when journal entries land in QuickBooks): Setting Up Cadence for Journal Entry Push
- Preview before they push: use the JOURNAL ENTRIES VALIDATION tab on the same Journal Entries Settings page to see exactly what Loop will send for the next period.
Need help?
If you run into any issues connecting QuickBooks, mapping locations, or pushing your first journal entries, email support@tryloop.ai and we'll get you unstuck.