
This article guides you through generating the required details and connecting Sage seamlessly within Loop.
Step 1: Enable Web Services in Sage IntacctTo integrate with Sage Intacct you need to have an active Sage Intacct Web Services Developer License.
Navigate to Subscriptions: Go to Company --> Admin --> Subscriptions in Sage Intacct.

Enable Web Services: Scroll to the bottom of the page and enable the Web Services subscription.

Step 2: Authorize LoopAI's Sender ID
To authorize our Web Service Sender ID:Navigate to Application --> Company --> Setup --> Company (under Configuration).

Select Security.
 Scroll down to Web Services Authorisations, add our Sender ID: fullmealstechMPP to the list and press Save.
Step 3: Create a Role for Web Service User
A specific role with the required permissions needs to be created before adding a web service user.
Navigate to Company --> Admin --> Roles.

Set Permissions for the Role:
- Under Permissions, grant Full Permissions for General Ledger.
- Grant Read-Only Permissions for Company.
- Select the relevant permissions [as shown in the screenshot below] and click SAVE.


Step 4: Create a Web Services User
A Web Service User enables exchanging information using an API with Sage Intacct without needing to log in to the Sage Intacct UI.
To create a Web Service User:
Navigate to Company --> Company --> Web Service Users:

Add details on the Web Service User:
- User ID: loop
- Last name: Integration
- First name: Loop
- Email address: [Enter an email address you have access to]
- User Type: Select Business User.
- Admin privileges: Full


Click SAVE. The web service credentials will be sent to the email address you provided.
Step 5: Locate your Company ID
To find your Company ID hover over Company and then select Company Info.The Company ID will be found in the ID field
Step 6: Completing the Setup in the Loop Dashboard
1. Log in to LoopAI: Use your username and password to log in to the Loop platform.2. Navigate to Software integration: Navigate to Balance --> Journal Entry Automation --> Journal Settings → and click on Integrate Bookkeeping Software

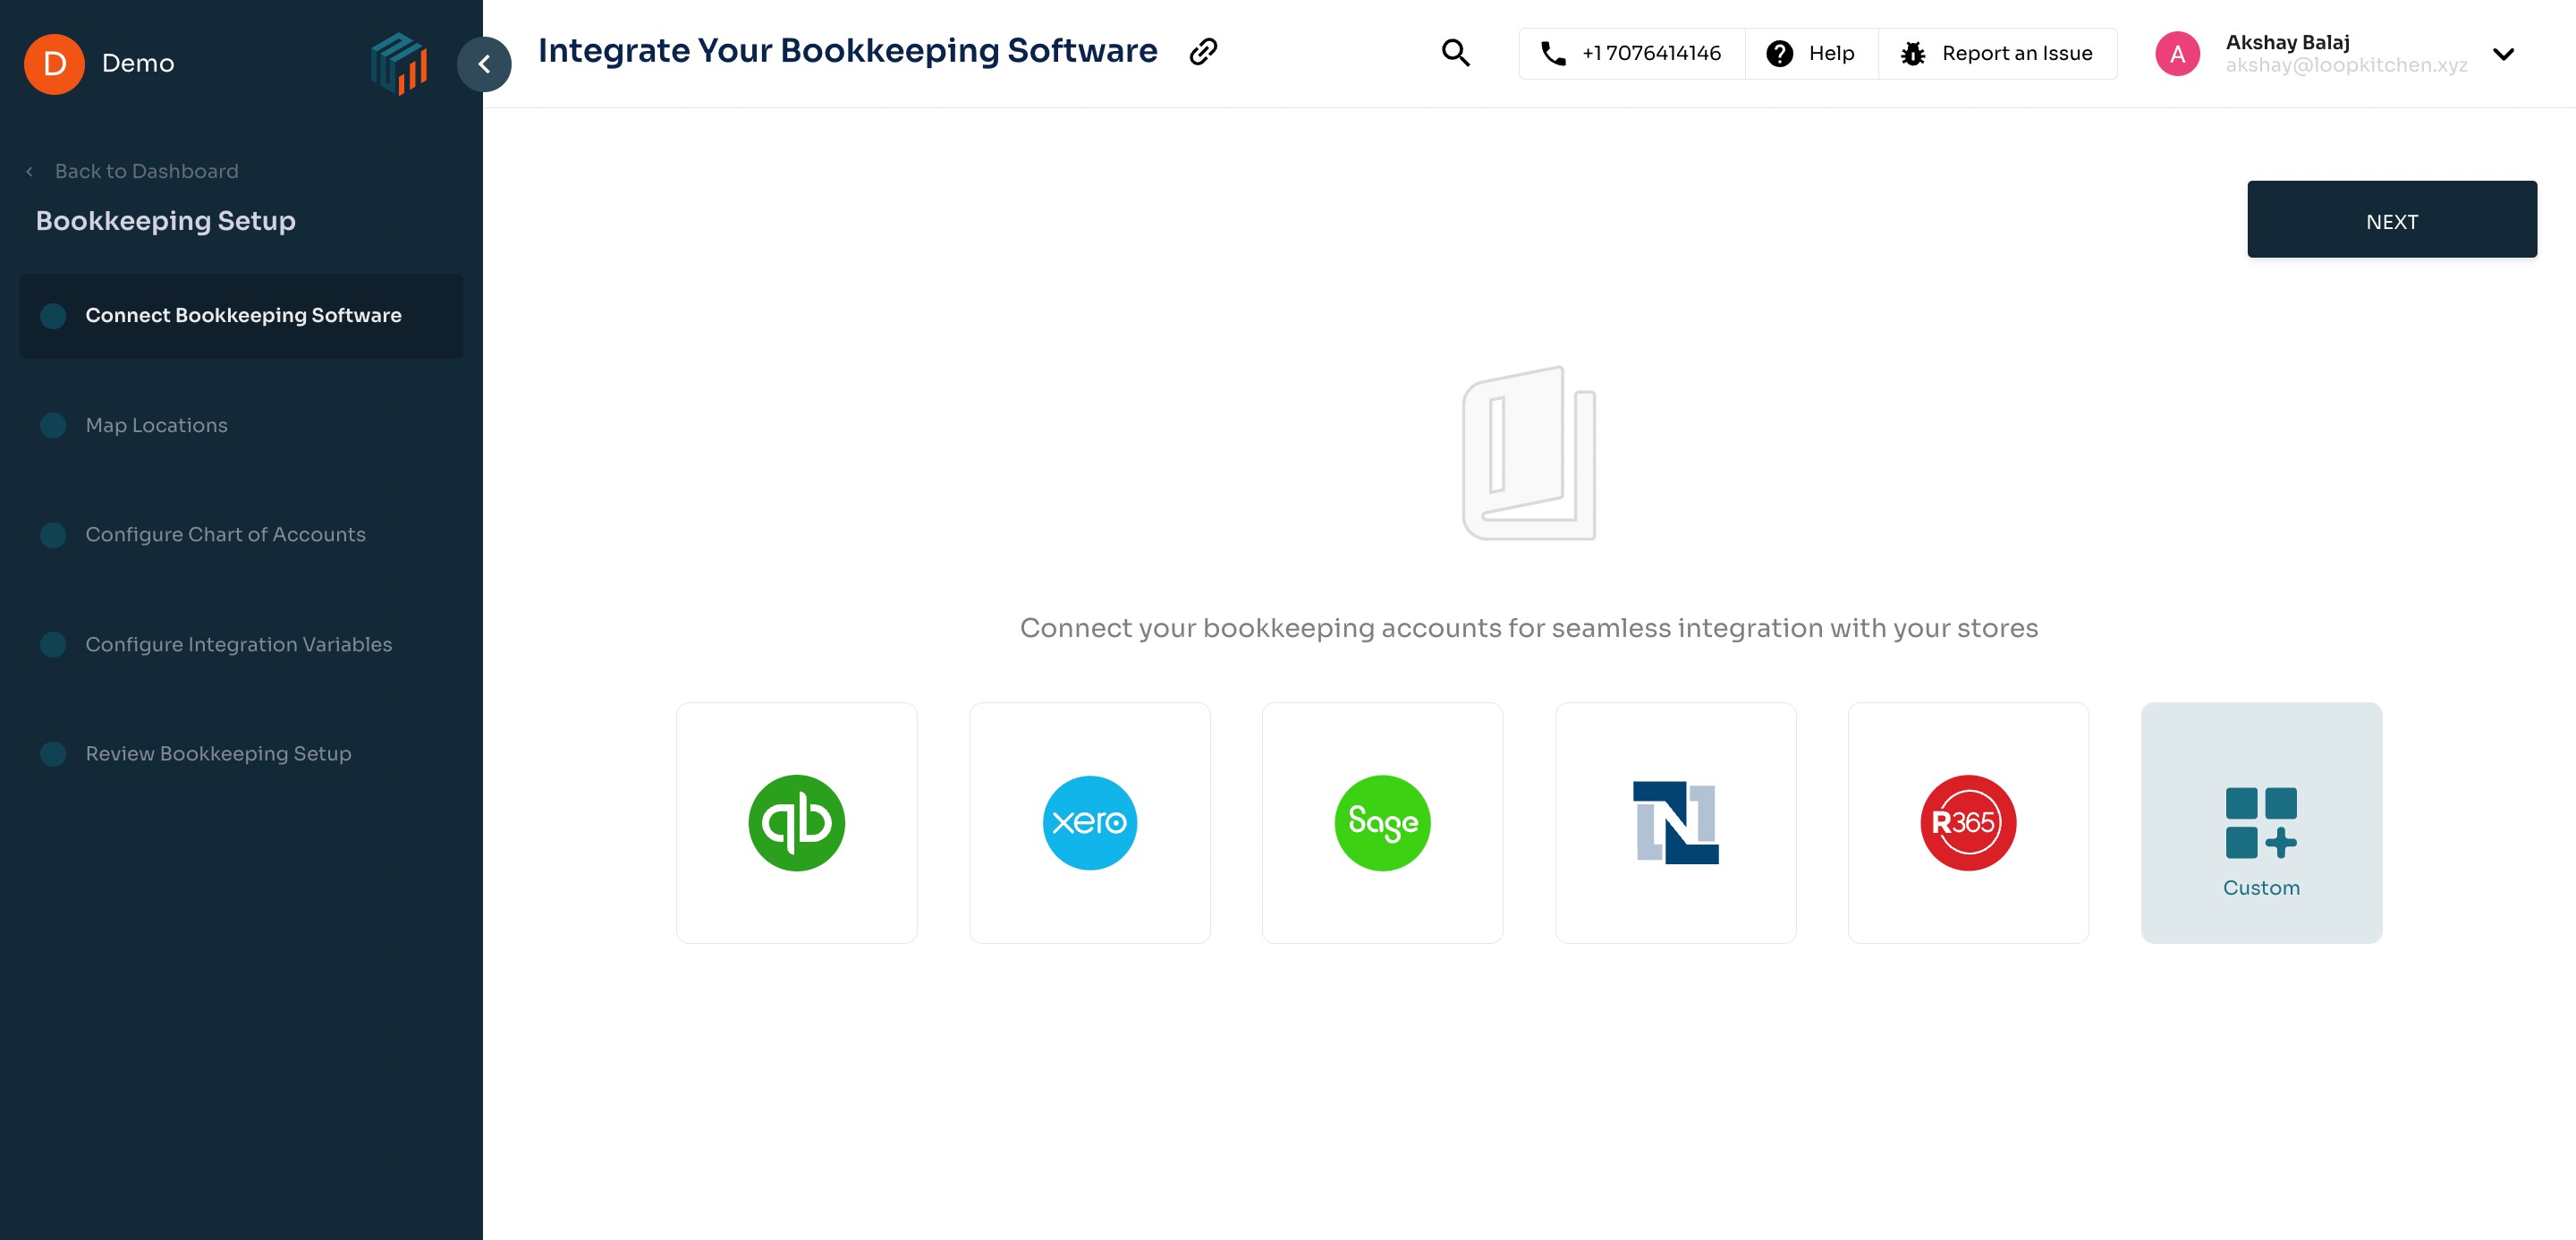
3. Sage Integration: Click on the Sage logo within the Software Integrations section.
Input the following details
- Company Name: A recognisable name for your company to help you identify the setup in the Loop Dashboard.
- Company ID: Enter the Company ID you retrieved earlier from Sage Intacct.
- Web Service User ID: Enter the User ID recieved via email
- Web Service User Password: Enter the password recieved via email
4. Map Locations
- The wizard will automatically guide you to map locations. Alternatively, navigate to Balance > Journal Entry Automation > Journal Settings > Map Locations.
- Select all the locations in Loop that you want to map to your connected Sage account. Note: Journal Entries will be generated for the mapped locations.
- Map each location on Loop to the corresponding Location entity in Sage from the drop-down list.
- Once all locations are mapped, click "Save" or "Next" to finalize the setup and move to the next step.

5. Configure Chart of Accounts & Journal Type
- To learn more about mapping your Chart of Accounts, refer to this guide.
- You can also configure Journal Types by company, location, and marketplace in Integration Settings under Journal Settings.

Need Assistance?
If you have any questions or require further assistance during the integration process, please reach out to us at support@tryloop.ai